Friday 27 July 2012

Using up scraps

Hello there

This week on my blog I've been writing about using scraps off my desk. These are the scraps I've used up today.
I used the flower shape, which is a residue die-cut from something or other, as a template to cut out two more of that shape and then I used my Cricut to cut out varyingly smaller versions of the daisy2 from the Walk in my Garden cartridge. The die-cut will have been about 7cm, so my other daisies were cut at sizes like 6 and 4.5.
All I did then was lay the pink chequered paper down, put a strip of coordinating card down as a bar to put my flowers onto and then layered my flowers up, put self-adhesive gems in the middle and I was almost finished.


All I added to it was a die-cut from Wild Card cartridge; cut from the same card as I used as a band for the flowers. I'm sending it to my daughter, sister, nephews, mum and step-dad as they're all together on holiday. I am definitely thinking of them and hoping that they have lovely sunshine all week, to enjoy family time.
I perhaps should've chosen a darker pink as a band for the flowers but other than that, I'm very happy with how I used those scraps up. There's still a small amount of the chequered paper left but enough is enough, I chucked those in the bin.

Take care out there

Wednesday 25 July 2012

What can I do with these?

Hello there

I'm going to craft as I blog with some scraps I've found on my desk. It's actually looking semi-tidy at the moment, other than an old pencil case of my daughter's, which is going to be pulled apart and made into a new one, soon, sometime in the near future. That's it; no other scraps of paper at all, other than my work schedule, which shouldn't really be on this desk at all.

umm, what to do with this lot?
I've just found a scrapbook layout as I was looking at Katrina Hunt's blog where she tells us about a Scrapbook Generation giveaway of a layout download. Unfortunately it's a double page L.O, so I'm sitting here trying to work out which photo/s to use along with these bits of paper and how to make them into a single page L.O or a card.

This has no relation to the S.G layout
but it's one of the ideas I've had.
After picking up a pack of handmade papers I found down the back of a drawer yesterday, I've now got this far:


I can't think which photo to use though. My daughter made me breakfast in bed this morning and I have a photo of her, so I'm mulling through my head if I could use that.

I've opened CraftArtist so that I can get an idea of
the size of photos I'll need to print off

I've got a list of words I think
 would be great on the page.
After drawing around the gold thin frame onto some of the darker blue paper and cutting it out, I placed that as a mat for the gold infill from the frame.
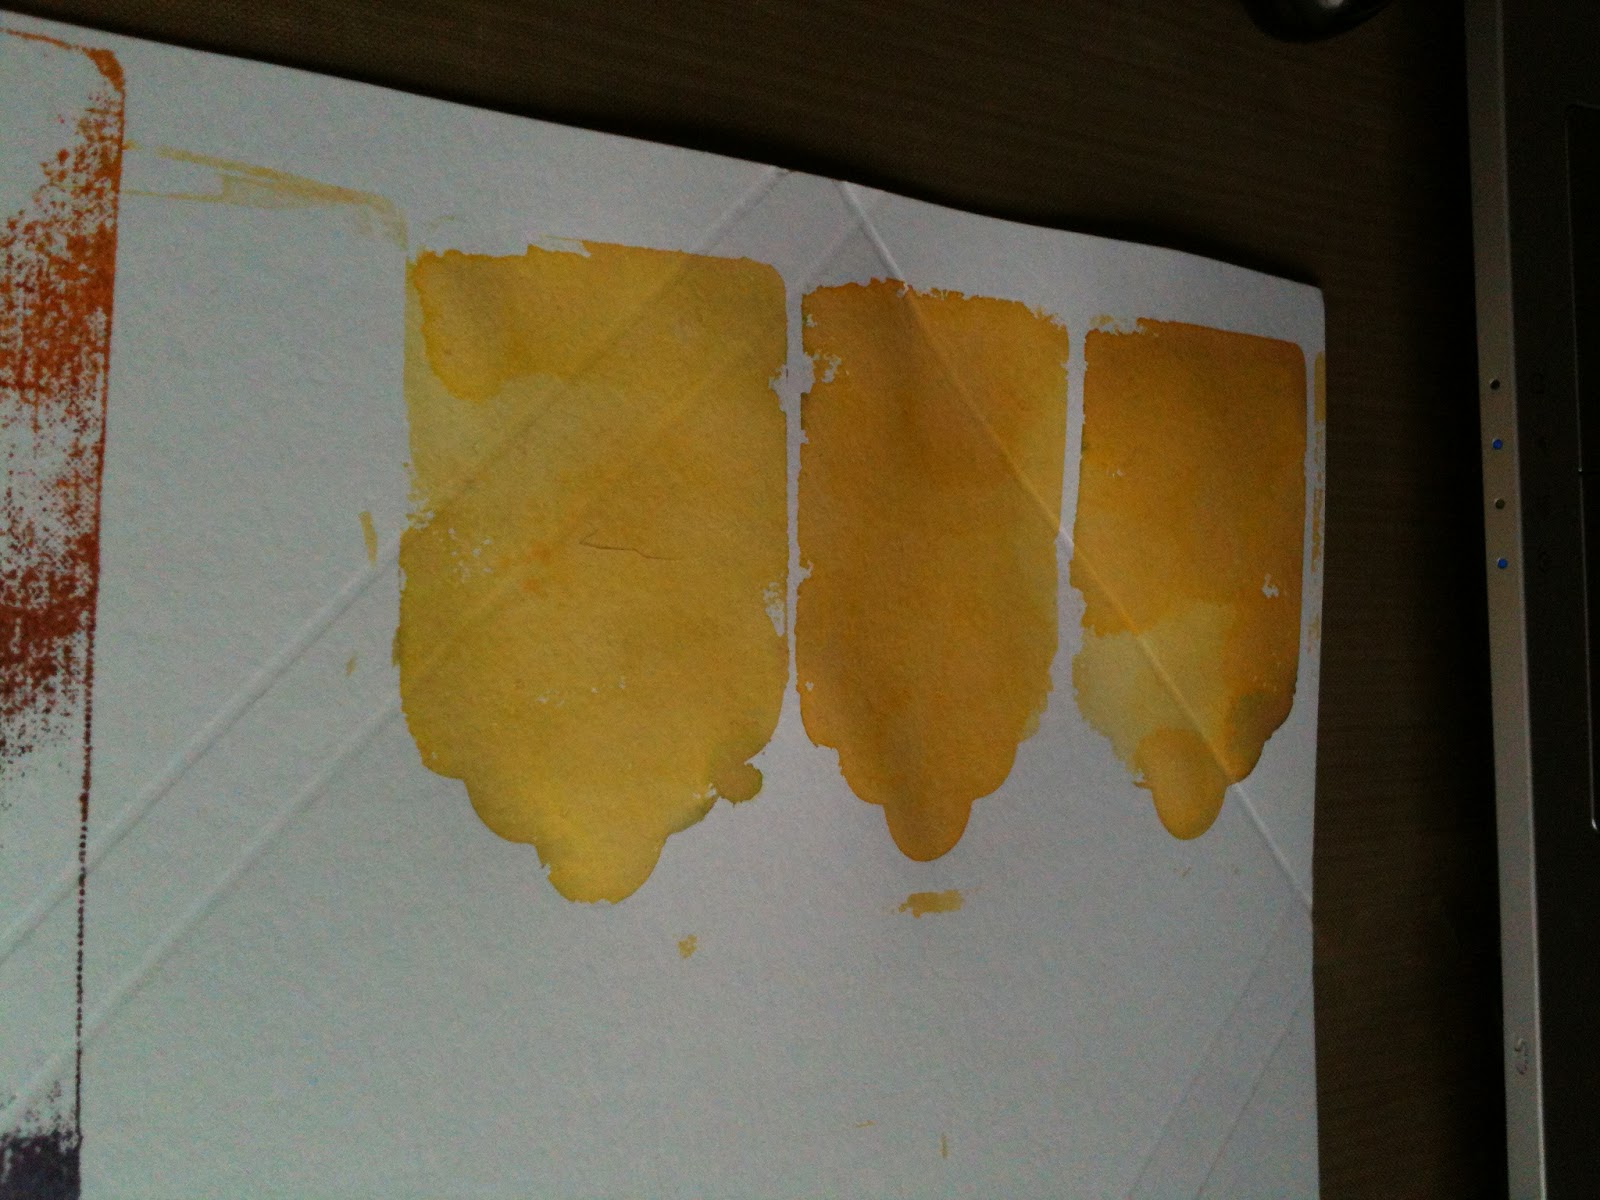
I inked round the edges of everything with my Adirondack gold dabber,
printed off the photos and matted them onto the same gold card as used elsewhere on the layout
and hey presto (after some writing too and some ribbon/baker's twine)


My layout is done and I'm so pleased with it and the fun I had creating it from nothing really. Superb fun!

When I printed the photos out, I found some scrap patterned paper and a flower left over from a die-cut. I can't wait to see what I manage with them.

Take care out there


Monday 23 July 2012

Whilst clearing my table off - setting myself a challenge

Hello there

Not long ago; last month in fact, I made a card for a new baby. Since then I've had the die-cut card base (which was too big for the envelope I made first), sitting on my table. Today I've put it to good use. I don't know anybody who is expecting a baby but who knows when I might need it in the future or someone might ask me to make a card. I'll be able to pretend that I worked long into the night to make this card in time, whereas all my readers will know different. There's nothing like putting people under a guilt trip, hee hee.
The card blank was cut from handmade paper and not really substantial enough to stand up on it's own, so I cut the back part of the card off the pram shape and then cut another card base from normal card; I used fit to page function, which cut at 7 3/4in. I glued my pink base onto that.
Unfortunately my pink card base had been stained by ink whilst sitting on my desk but I wasn't going to let that get in my way.


I cut the same image with the liner function button and used scissors to cut off the pram hood section. The paper I used has a textured look to it which is perfect for the material look I need for the pram, as the handmade pink paper also feels slightly velvety.

It's because of shapes like these that we need lots
of different types of glue
The words 'new arrival' were cut from the Wild Card cartridge too at 7in. The handmade paper does need multi-cut to be selected on the Cricut, as it's very fibrous. I'd also advice cleaning the blade afterwards and don't use a brand new cutting mat or it'll be ruined.

I love the way the blue 'pops' due to everything else
being so pink and white
The envelope was created with a piece of card measuring 28cm x 28cm using my Ultimate Pro to score the fold lines. Easy!
I've got these pieces saved from that last card too but I won't stick it to the front of the envelope until I find out who it's being used for and whether or not it'll need to go in the post or not. Until then they'll live in the envelope with the card.
I've got a few other things loitering on my table, so I'm challenging myself to make cards or scrapbook pages with them. Why don't you try it?

Take care out there

Saturday 21 July 2012

Fun and games

Hello there

Here's a birthday card all of my own. I didn't look through books and magazines for inspiration. I haven't seen a card demo which has inspired me. I just used my own inspiration from this:
Yes, that's right; a scrap of paper left over from some tags I've cut out in the past. From this I thought that I could line up three on the left, then go down to two tags and then one large tag with the sentiment on. So off I went to play and practise and loved it.

The photo on the left shows what I ended up when messing around with my Big and Juicy, mountain meadow pad = not good but that pad was tipped every which way during the house moves I had to make in one year, so not sure it's much good for anything now but I'm not throwing it out.


having fun trialling ideas out
I finally decided on Wild Honey distress pad and it all rolled from there. I applied it by stamping onto my craft mat a couple of times, sprinkling a bit of water on and then rubbed my blending tool into it and then rubbed that onto the card covered by my improvised stencil. Easy! I also coloured the large tag that way.
It doesn't look crash hot on it's own
I then decided to make the second layer out of die-cut tags (size 6.5cm from Plantin Schoolbook) and coloured them with brown sugar dabber by Jenni Bowlin and gold Adirondack dabber. I've actually made two of these cards; one lot of tags had a gold base with brown splodges and the other vice versa.
I used Wild Card cartridge to cut the happy birthday sentiment from (page 61 of booklet). Using the Craftroom made it so easy to match up with the large tag and get the size exactly right. You're able to cut layer by layer, so as long as you put the selected icon onto the 'mat' as a separate layer in the first place, it makes cutting just one part of the overall image, extremely easy.

I dabbed around the large tag with the gold dabber.
Outlining the inked tags helps give better definition to them.
The backing paper is from a K&Co paper pad I use alot as it's HUGE!


Let's get this card assembled
 With a bit of help from Baker's Twine:


I had the idea to emboss/deboss a tag image onto the envelope to put the address into; it's from an embossing board which came with my Crafter's Companion Ultimate Pro. Love it!

Not easy to see on white card but click on the image
to get a better view if you're daft like me
 and get kicks from such things :-)


Take care out there

Monday 16 July 2012

On a theme

Hello there

Since I enjoyed making the birthday card I showed you yesterday so much, I decided to make another card on the same design. This time I needed a thank you card for the ladies who trained me recently in my new job.
As you will see, most things are the same such as the main topper. The envelope was slightly different too but still cut from Wild Card Cartridge- Doily-shift cut at 'fit to page'.

The frame around the sentiment is from the same cartridge. I cut it at 8.47cm x 4.27 and then I got the word 'thanks' from Lyrical Letters cartridge and on CraftRoom I made sure it was exactly the right size to fit in the frame. I then cut the frame from the same paper as the flower was made from and the word 'thanks' was cut from some blue cardstock.

Yet again, a very small piece of card saves the day


The flower shape cut from the Paisley cartridge (button feature)
will allow me to write the recipient's name on the envelope
I like.

Take care out there

Sunday 15 July 2012

Keep it simple

Hello there

This year I have really liked a light blue/turqoise colour. I have a few things now which are that colour. I've arrived at this card through that love and a variety of experimenting.
I found a tutorial for twisty flowers on 'Me and the Little Rascals' blog.
Once I'd made a couple of those, I wasn't sure what I was going to do with them and then I remembered about a friend of mine's birthday in July, so I got to planning and scheming.
Part of that involved looking more into the Wild Card cartridge and what it has to offer. One of the almost by accident things I found was an icon feature on page 52 of the booklet. I set the Cricut to far too low a pressure setting and a depth setting of 3, which I knew to be far too low to actually cut properly the card I was using. I cut it at 7cm. The end effect was like purely creating an indented pattern in the card, which I found really pretty. It is actually created as a square design but I just put it back into the Cricut and cut a circle shape at 6.5cm around it (using the centrepoint feature), which suited exactly what I wanted, as a result of doing a basic layout on a scrap piece of paper.

You'll need to click on this image to see any of the detail


I didn't end up using the leaf cut as I remembered about the gorgeous bluey lace I have, which is much prettier.
I made sure that the frame cut I made was large enough to go around the stamped sentiment; which is such a brilliant feature of owning a Cricut and Cricut Craftroom software.
I really enjoyed making this card despite the fact that you might look at it and think it's too simple but that's exactly why I like it. It has the colour I like in it and white. There is detail but it's discreet; not shouted out from the rooftops. I'm going to make more monochrome cards now. I think it's refreshing and clever in it's simplicity.


I hope the recipient likes it too. The envelope was cut from KandCo paper from the Wild Card cartridge again on page 52.

Take care out there


Thursday 5 July 2012

Thanks

Hello there

I've just finished a training placement for work. I'm really glad to have finished as the travelling wasn't fun; the early starts; the training in a different place to where I'll actually be working has all taken it's toll on me. The two ladies who were mainly training us though were very kind to us in different ways, so I made them each a card.

One of the cards I made was with the freebie papers from the August issue of Cardmaking & Papercraft. I used some of their inspiration to help lead me in a good direction.
Alot of the time when making cards these days, I like to make sample pieces to test the design out before using good card/paper. This also helps me get sizes right and make a practise layout which can inspire me further with ideas or just confirm what I had planned.

The tags were cut from the Winter Woodland cartridge, 3dBld5 -tag feature, one cut at 9.5cm and I think the other was about 6cm but I forgot to write it down. I didn't say my recording method was foolproof! :-) It's on page 79 of the booklet. The word 'thanks' was cut from the Wildcard cartridge - 'sweep', phrase function at 10cm, page 42 of the booklet. The flowers were cut at three different sizes ranging from 4cm up to 6; they are on the Walk in my Garden cartridge, shadow function, daisy1 - page 82 in the booklet.


I loved that I could use one of my new Spectrum Noir pens to ink the edges of the die-cuts. In the past using an ink pad to edge such intricate shapes was not successful but this is so easy and really made a difference, especially to the word Thanks.


I liked the relative simplicity of making the card, yet the final look I'm also happy with too.

Result!


Take care out there

Monday 2 July 2012

Stamping

Hello there

I own some stamps. I have been to stamping classes using Stampin' Up products; I have enjoyed them. I love watching people like Barbara Gray, Melanie Heaton and many others, create gorgeous pieces with their stamping projects. I have not 'got into' it much though due to the expense mostly but also due to lack of talent. There are so many products you need to buy for stamping; stamps, inks (so many brands and types), papers (so many brands and types) and pens (yet again, so many brands and types). There's so much out there in the marketplace that it becomes a bit mind boggling to know which will suit me best and which of them I can afford. You have to be good at shading and remembering paper/ink/pen blends which work without smudging your work all over the page. Aarrrgghhhhh! It all seems too stressful and expensive and I just get overwhelmed by it all, so up to now I've stayed away.

I hear you. Yes I know I have used stamps before but I haven't coloured them with pens in the past; I've avoided it like the plague. I haven't tried braying before either and I still haven't! :-)

The very first laying down of colour with one of my
new Spectrum Noir. I love how no stripes are visible.
The edges are lighter because I made them like that.
May Flaum has the right attitude to it though. I follow her blog daily and I was on her BigPictureClass earlier this year. She has a real 'gung-ho' attitude to scrapping and she has confidence in herself to die for. For those of you who either don't know about May or you don't know what I mean by the term 'gung-ho' then a) go watch her videos and read her site - you'll love it b) gung-ho means 'get in there', 'go for it', 'be brave', 'just play'. May isn't scared to share her 'failures'. Sometimes she layers ink over paint, over stamping and it can look amazing but other times it just looks like a brown blobby mess but she'll adapt that at another date to work for her. She doesn't let it stop her creative flow. She makes an almighty mess and comes out with wonderful stuff.

That's the secret.

Let go.

May goes on and on and on about not worrying about whether you're using the 'right' thing to re-create her projects (which is great); although she does also list the contents/links under each posting which is great, if you live in U.S.A!  I don't live there, so I often have to improvise with what I have but that's what it's meant to be. It's meant to be my interpretation; my skills; my time available; my money available; my recipient's needs (if it's a card) etc. I'm not May. I love creativity not copying.
So recently I got the chance to buy some Spectrum Noir pens at a good price, so I took the plunge. On Saturday I just grabbed some cardstock, stamped a Stampavie (Helz Cuppleditch's Ruffle puppy plaque) stamp with black archival ink and set to colouring the image with a little help from a Leann Chivers video on youtube. Sure enough, I didn't have all the pens Leann used or the right type of stamp really but I carried on. I just coloured. I quickly realised that the cardstock wasn't great, as it's not smooth coated. I also saw that the ink was being smudged by the pens. So what?! I was playing. I was learning. I was growing in confidence.

Take care out there
Related Posts Plugin for WordPress, Blogger...